Monday, 12 August 2013

1 image, 2 image transfer techniques (... if it doesn't succeed, try, try & try again!)

So, along with revisiting Tim's Holtz's Creative Chemistry 101 techniques, I'm also doing another online class with Claudine Hellmuth at Big Picture Classes - Technique Toolbox - 25 techniques in 5 weeks!

So because I'm learning & doing things for the first time, I though I'd share one of my not-so successful technique tags!  Crossed fingers, I've got an idea of how to redo this tag so I can hopefully post it in the class gallery! I'm glad I photo'd the tag while it was still wet & before it got past the point of no return - I'll take the photo down to the copy shop & get a laser copy, which will hopefully work better!

So, here's the tag before it got past the 'point of no return' ... just about!


I was rather taken by the photo, especially his blue eyeshadow around one eye, & his purple coat & bottle of drink!

The technique is a photo transfer into acrylic paint. 'Officially', and quite rightly(!), you should use a laser copy.  But I'd come across this photo in an old copy of Time Out magazine (for the record, from jul 9-15 2013 issue), which is printed on a type of newsprint, so probably not very good for this type of transfer!  He's apparently a young music festival organiser, (dressed as a pirate for the festival!).

I used classic teal paint with a bit of white (from a very old gloopy tube of acrylic paint!) added over the whole tag, & added some dryish sable brown at the edges while I was waiting for the paint to dry.  I also probably didn't wait long enough to make sure the print soaked into the paint before I started rubbing away the paper...  So I'd also already started rubbing when I decided it wasn't really working - so that's when I took the photo as I'd like to try again (the paper was still wet at the time I photo'd it) ...

So I thought I'd see how far I could go anyway...


OK, more rubbing, & drying & it looked like this - oops!! Reject!!!

So, I added a little gloss medium over the top, which helps to make the paper transparent, & here's my final photo of this time round (I had added a title by this time) ...


You can see the image marginally more, but there was way too much paper left, so totally not what I was aiming for!  So this tag will stay with my rejects!

Update

But, here's what happened when after I'd printed out the photo of the tag (top photo) & taken it down to the copy shop... This time I thought I'd try out a different technique, so I did a transfer onto stickyback canvas (which worked much better!) ...


At last something I could post onto our class gallery!  And I got some lovely comments, thank you all!  And, feeling 'brave', I'm now publishing this to my blog ... !!
 
 
P.S. note to self for the future - if you're going to be trying a new technique make sure you photograph or copy any originals, even if you then use the original - so at least in some form you can try again!!




Sunday, 4 August 2013

Hi again!

Another long gap! I can't believe I've only blogged once this year! Don't know what I've been doing really! But luckily I'm starting to get inspired to create once more!

So, here again with renewed inspiration having met up (in real time & space) with friends from a Facebook group at Neil Burley's beautiful new studio in his garden in Leicester. (Neil's website here - he's taking bookings now perfectly4med.co.uk) Many Thanks Neil!

And hoping to enter some challenges this month! So hopefully I'll be posting more often from now on! And having now got an iPad mini (which I love!) I now don't have to be on the computer to blog (that is as long as I can figure out how to upload photos from the iPad!!!


Watch this space!
Front cover of notebook made at Neil's studio
Inside front cover - now to complete all the tags!

Saturday, 9 February 2013

long time no blog!

Hi, I'm back - eventually!

I don't know where the time's gone - I was quite shocked to see that I hadn't posted anything since the middle of October last year!  Though I must admit I haven't done a lot of crafting either...

Since September, I've been working part-time, 2 days a week, which soon crept up to 4 days - leaving me not so much time for myself!  Don't get me wrong, I do really enjoy work and I'm very grateful I've got a job (I really didn't get on with not working at all) - but hoping eventually to find a "happy medium"!

I've managed the odd card for friends, and I did make quite a few Christmas cards -- with the dining room table (where I mainly craft) piled high, I over-spilled into the kitchen for a couple of weeks!

I eventually managed to clear the kitchen and the dining room table for a late Christmas dinner (I'm not that disorganised - we were away in Salzburg for Christmas itself (* see separate page) - we had a great time!) - and it's managed to stay clear!  But the time has flown by and its now February already!
 So, I've joined in the free My Creative Classroom class/challenge 'Use every stamp 2013'.  My personal challenge is to put things away (in the right place!) when I've finished with it, and organise my stamps, so I know what I've got, and where to find it, and hopefully use it!  We've got a whole year (or 11 months now!) to do this, so hopefully I'll at least have made some progress by next Christmas!!

Hopefully I'll be back here tomorrow or Monday when I've done some crafting!

Back soon (fingers crossed!)     Kay

Wednesday, 17 October 2012

CC2C- challenge 25

This week's challenge on Linda's Studio L3 blog is to use Tim's Ink Palette - Perfect Pearls technique from page 53 of his book Compendium of Curiosities vol ii, this week sponsored by Simon Says Stamp.
I created my palette - with Heirloom Gold, Pewter & Forever Violet (the 3 colours of perfect pearls I've currently got).  To get a little more variety in colours, I also added Distress Dried Marigold re-inker & Crushed Olive stain, and Dylusions spray Bubblegum Pink & Fresh Lime to Heirloom Gold Perfect Pearls - also Distress Tumbled Glass re-inker & Dylusions spray London Blue and Crushed Grape to Pewter Perfect Pearls.  The stamp I used is one of Dyan Reaveley's Dylusions background stamps (background love - DYR34612) from Ranger.

As you can see below, the Perfect Pearls on the black (which I used for the finished tag) have a much more subtle effect than on the cream - I think to get these colours on black I will have to get myself some more Perfect Pearls!  But I can see me using both colours of cardstock, depending on the finished result I'm looking for!  
unfinished tag (black)


Experiment on cream card
I heat embossed the quote onto black card which I then coloured with Perfect Pearls...
And finally I added a die cut flower & butterfly which I'd made using the riveted patchwork technique on p 57 of the same book...
detail of finished tag
 ... just a couple of bits I had lying around!

Back soon!   Kay

Thursday, 11 October 2012

CC2C - Challenge 24


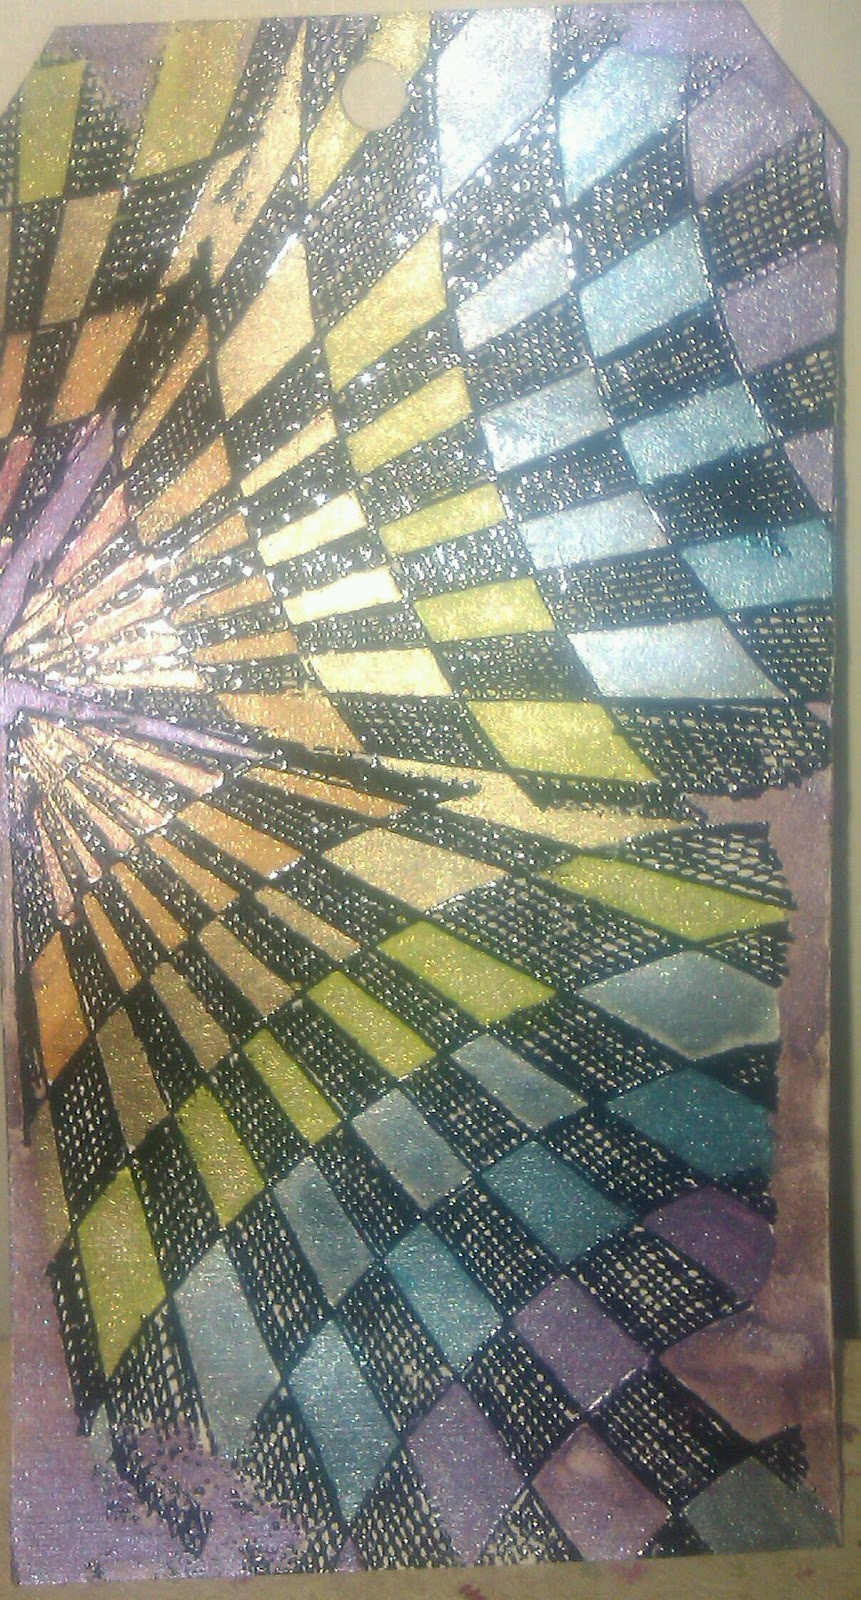
Just a quick last minute entry for Linda's Studio L3 challenge, using the Alcohol Resist technique from page 59 of Tim's 'Compendium of Curiosities vol ii'!
Is it too early to be thinking 'Christmas'??!
I used Tim's trees stamp from one of his Christmas sets for the alcohol ink panel, & heat embossed the snowflakes from the same set, then coloured the card with salty ocean and iced spruce distress inks.
(apologies for the poor photo quality - looks better in real life!)
Back soon!   Kay

Distress - seasonal

Great news - Tim Holtz's Ranger Distress Seasonal ink pads, which were released 2011/2012 in limited packs of 3 are now part of the standard distress range, so 48 gorgeous colours instead of 36 (plus of course picket fence)!  They're currently in ink pads & re-inkers  - hopefully maybe even markers at some stage?
What's even better is that Ranger have a contest on their blog for a giveaway of some of these 'new' colours, so here's my entry...

I was lucky enough to get the Winter & Spring packs (& I found the Summer pack just a couple of weeks ago).  But the Fall pack I couldn't find anywhere, so I'm so pleased at last to be able to get them!
For my tag, I used mowed lawn (from Summer), mustard seed and barn door distress ink pads. I stamped the three leaf images from Tim's mini blueprints set CMS 136 in jet black archival.  Then I pressed the ink pads onto my craft sheet & used a water brush to pick up and blend the colours on the leaves.  For the birch I used mowed lawn & mustard seed, for the oak mustard seed & a little barn door, and for the maple barn door & a little mustard seed.  Such a range of autumnal colours from just 3 distress ink pads! Then I used my blending foam to distress the tag (using the same 3 colours).
Finally I diecut letters from gold card, added a little frayed burlap (marker) & attached them to the tag and edged around them with black ink, to make them stand out.
Fingers crossed!
Back soon!   Kay

Thursday, 4 October 2012

CC2C - Challenge 23

It's Challenge 23 this week on Linda's Studio L3 blog. Tim's technique is using Distress Markers, on page 50 of Tim's book 'Compendium of Curiosities vol ii'.  And this week's prize is an awesome one of gorgeous goodies from a box that Mario sent to Linda!
Autumn seems definitely with us now, so I decided on a simple 'art' work...
I stamped the Birch blueprint from Tim's new Mini Blueprints CMS136 stamp set in the middle of a piece of watercolour paper.  Then I drew the border & filled it in freehand with 'silver brich' tree trunks.  I stamped the birch leaf several times more & 'fussy-cut' them out.  Finally I was ready to colour in with distress markers (and a little water) - tumbled glass for the sky, and a selection of fired brick, frayed burlap, bundled sage, scattered straw and crushed olive for the leaves, and finally frayed burlap & picket fence for the tree trunks.
I love this stamp set - it's so versatile, with 4 each of Autumn, Halloween & Christmas blueprints, which are just large enough to use on a card with other elements - I'm so glad I got them!
And of course, I love the distress markers!  I love the range of colours you can get, even with just a few, and a little water!  I'll have to get a few more of them soon though (I've got 10 at the moment)...

Back soon!   Kay